Well, it’s here! Mackenzie is off work for the summer and we are in the final stretch until baby #2 arrives. We have been spending a lot of time in the back yard and soaking up family time, but have also been exploring the city and lower mainland, making memories with just the three of us. Over the past few weeks, we have been following along through the Healthy Family Expo’s Summer Family Fun Guide and am sharing 5 awesome attractions to add to your summer bucket list over the next couple months. Enjoy!
BRITANNIA MINE MUSEUM


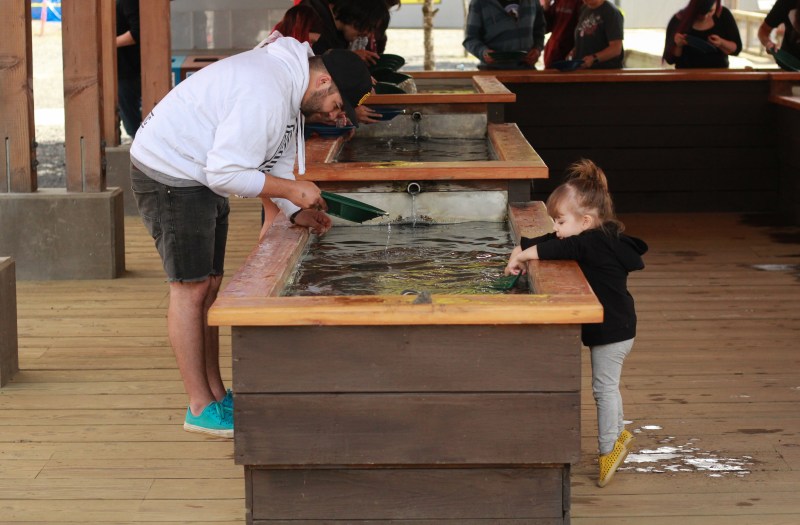


1. Britannia Mine Museum
“MUMMY, BIG TUCK” Ezra exclaimed as we came around the corner of the entrance to Britannia Mine Museum – sure to be one of the highlights of the entire trip for her and her cousin. Rewind to when we arrived at the mines, unfortunately because of the long, winding road you take to get there, Ezra fell asleep. Right before we pulled into the parking lot. Great timing kid. We ended up splitting up and my husband took her cousin through the mines and on the awesome tour, including when he was the chosen one to make the whole mine dark by blowing out a candle. He was VERY excited about that! I waited in the car until Ezra woke and then we joined them for some gold panning, train rides and digging.
There was a museum portion that had a huge assortment of stones and gems, gold panning – so much fun, the big yellow truck, and obviously the tour through an actual mine! There was so much to see, the tour itself is about 45 minutes long and then if you really want to find some gold, you’ve got to put your back into it and dedicate some time there! Haha. I would probably recommend putting aside 2 hours of time at least (and that would be without stopping to eat lunch while there).
Britannia Mine Museum was something I don’t think I’ve ever thought of visiting before. Whenever we’ve passed the mine previously, we were always en route to somewhere and it’s usually wrapped up in a time crunch. But when I saw the Healthy Family Media Expo’s Metro Vancouver Family Summer Fun Guide, I knew we wanted to check out each of these 5 attractions.
CULTUS LAKE WATERSLIDES


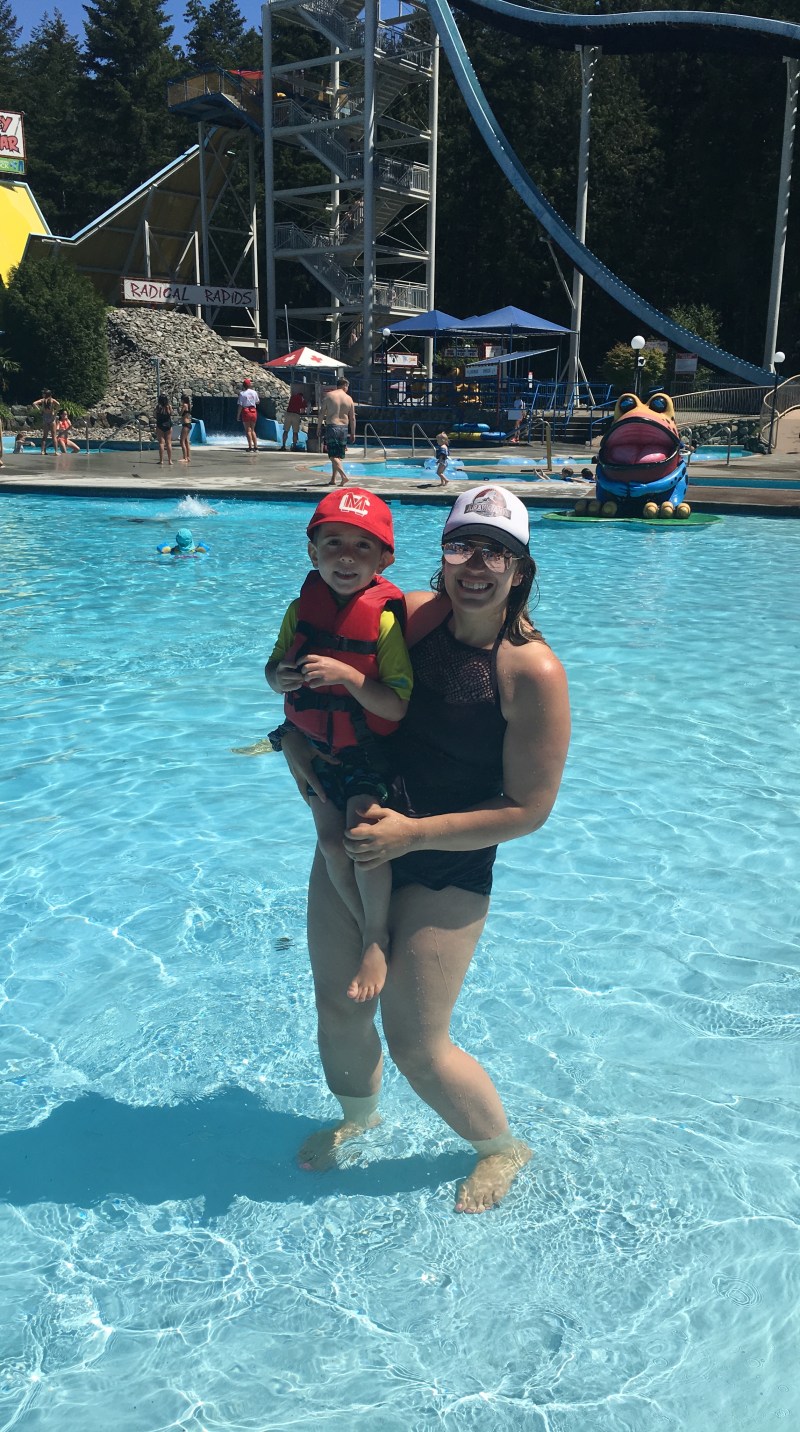
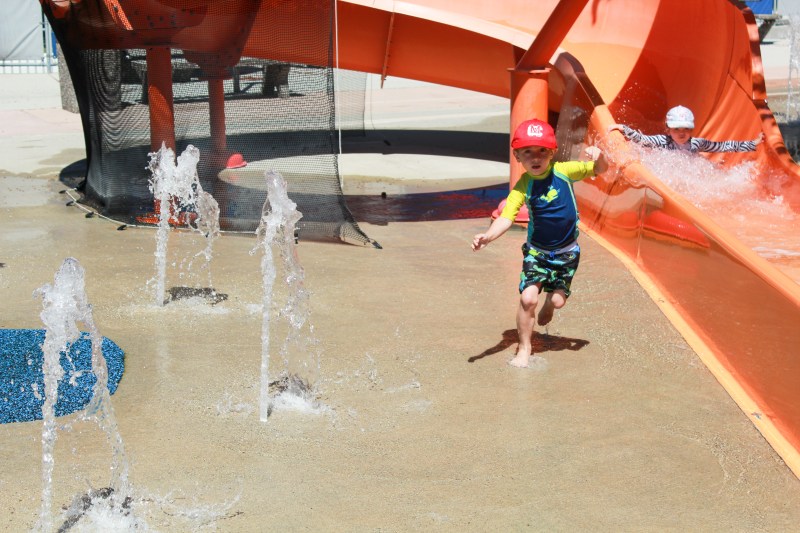

2. Cultus Lake Waterslides
When we ventured out to the next attraction in the Summer Family Fun Guide, Cultus Lake Waterslides, I knew right away that I had to bring a couple of my niece’s and nephews along for the ride! What better way to kick off their summer break than with some 60 foot waterslides! (Just kidding, we stuck to tubing, splash park and the kids zone).
I was very impressed with all the different age groups they had designated play spaces for. It really was a full family experience, with something for everyone, from baby to adult! The kids spent most of their time in the wading pool that had a few curvy slides that started from a giant turtle at the top and then ended with a large wide slide to plunk you in to the pool again! The turtle was a favourite of my nephew’s, for at least a good hour he would consistently bring myself and my sister-in-law over to watch him hug, smile and slide down the turtle!
After a full day of sweets, splashing and sunshine, the drive home was the perfect length to have the kids drift off after such a busy day.
MAPLEWOOD FARM


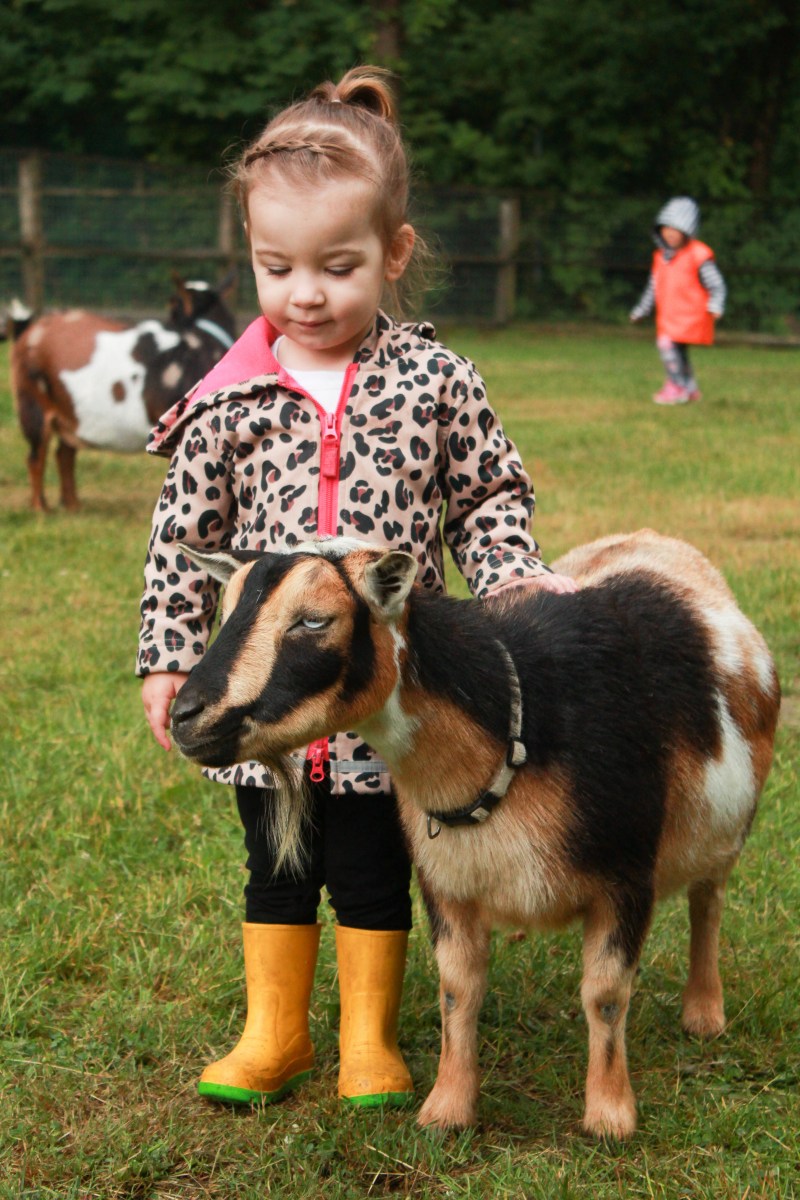


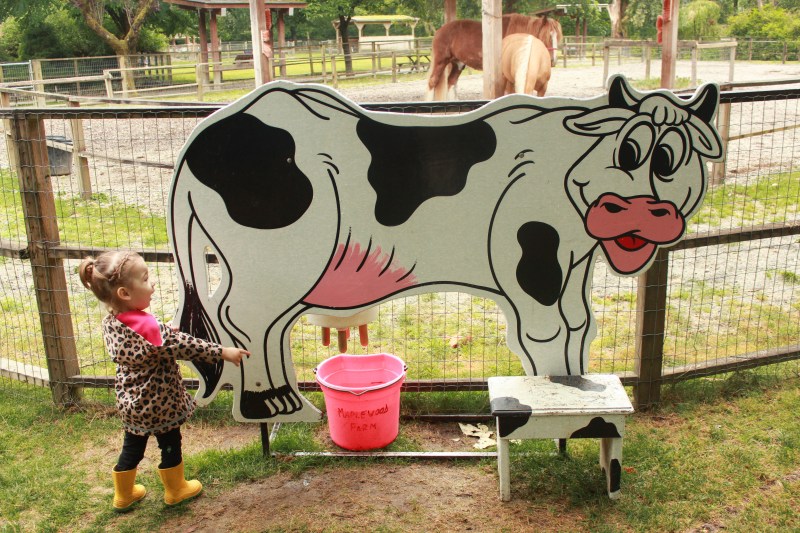


3. Maplewood Farms
We are so blessed to have my husband working as an EA, this means winter break, spring break and best of all, summer break. As soon as his school year ended, we headed right out to Maplewood Farm in North Vancouver to enjoy some family time. We knew right away that this would be a huge hit for Ezra, as she LOVES animals anywhere we go, playing with her Little People figures at home and watching them on TV.
When we arrived at Maplewood Farms, Ezra could see from the parking lot that there were horses, and she started to shake uncontrollably with excitement in her car seat! When we took her out of the car she hit the ground running, barely being able to stand still to check in. It was so sweet to see her be fearless with each and every animal, fully experiencing what each felt like, sounded like and even on some occasions, smelt like (yuck! lol). She was down on their levels, making the sounds she had heard from books to talk to them and giving each a hug before saying goodbye.
After we saw all the barnyard animals, we took a small path at the back to walk alongside the most adorable little pond. There were little ducks everywhere, willow trees and benches, quite a storybook setting if you ask me! As we walked a little further, all of a sudden my husband called for us to hurry up, there was a mama and her 2 ducklings nestled in beneath a tree by the water. It was the sweetest little thing to watch Ezra inch forward, being so gentle and quiet to not scare them. (Unlike when we saw the peacocks, she was practically one of them and talking their squacks).
WEST COAST RAILWAY HERITAGE PARK


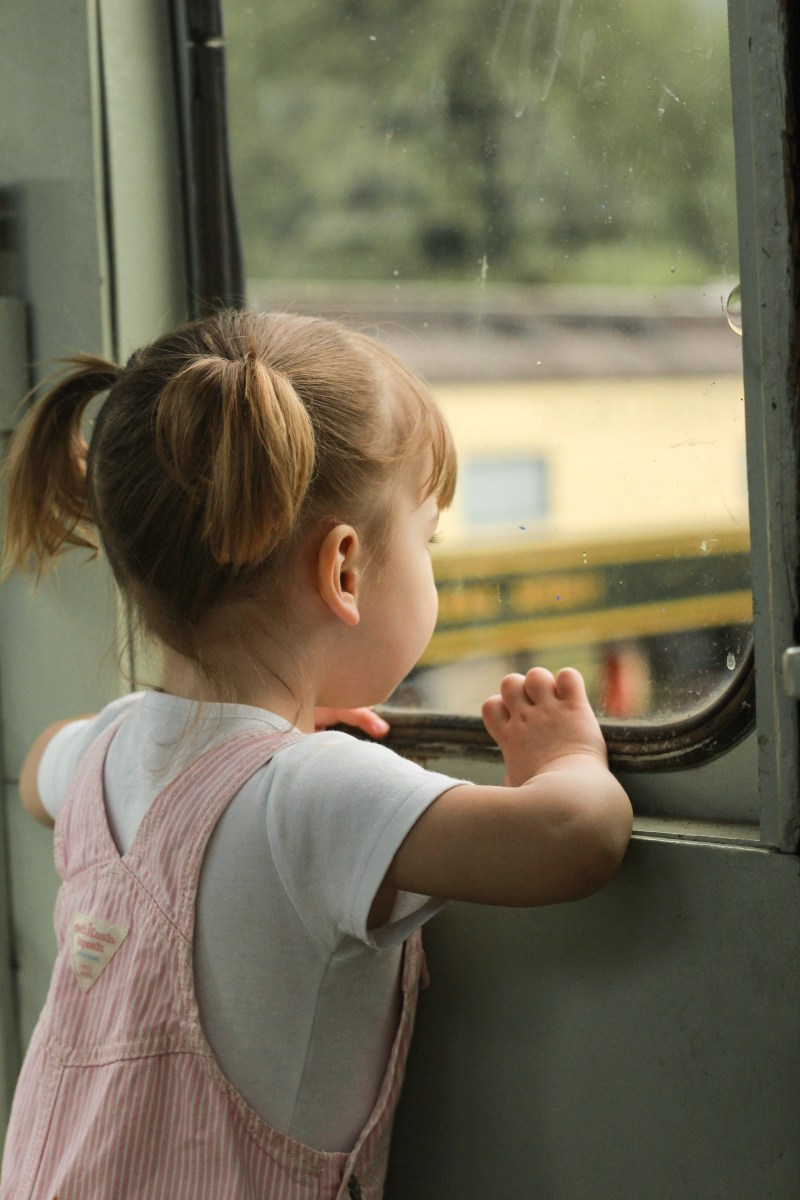


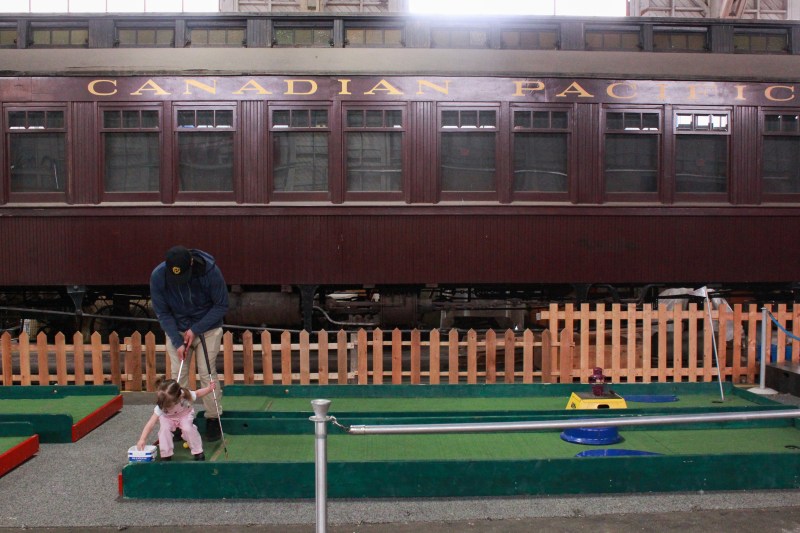

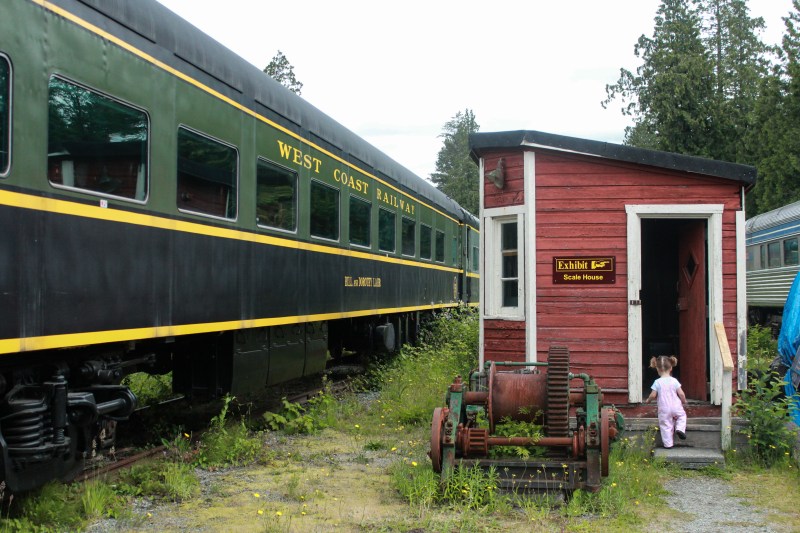

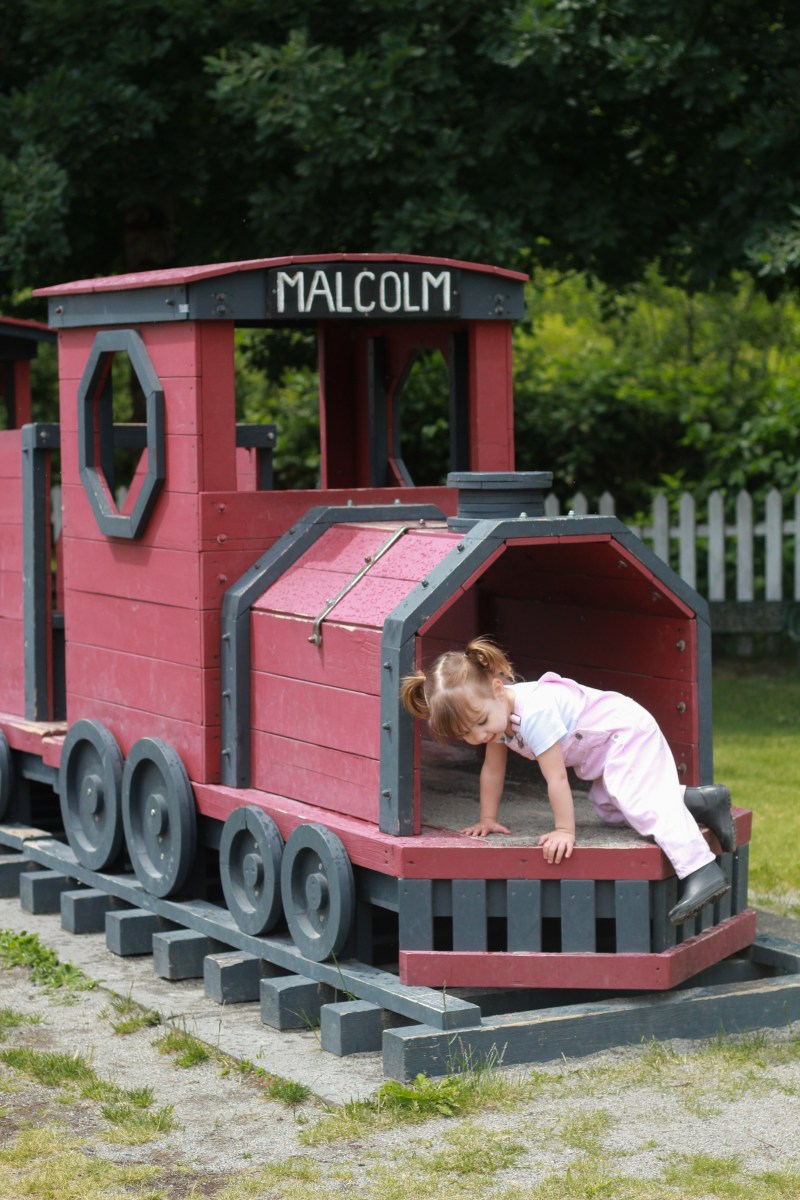


4.West Coast Railway Heritage Park
I think this trip was by far Ezra’s favourite – although it’s probably hard to judge because she get’s so excited about everything, but this girl LOVES trains. She loves making the sounds, pointing out the sky train on a daily basis, and anytime there’s a train table, you know you can find her there. The West Coast Railway Heritage Park is such a family friendly environment and a great place to take toddlers. There was so much running space between the cars and tracks, the insides were huge and had tables, beds and kitchens which is always fun to explore for little ones.
Throughout the building, tracks and at the waiting stations for the train rides were a number of different train tables for kids. This was a great way to keep the smaller ones occupied while older children or parents explored AND there was an abundance of trains to go around. If you’re a parent and reading this, you know how crucial this is. Haha.
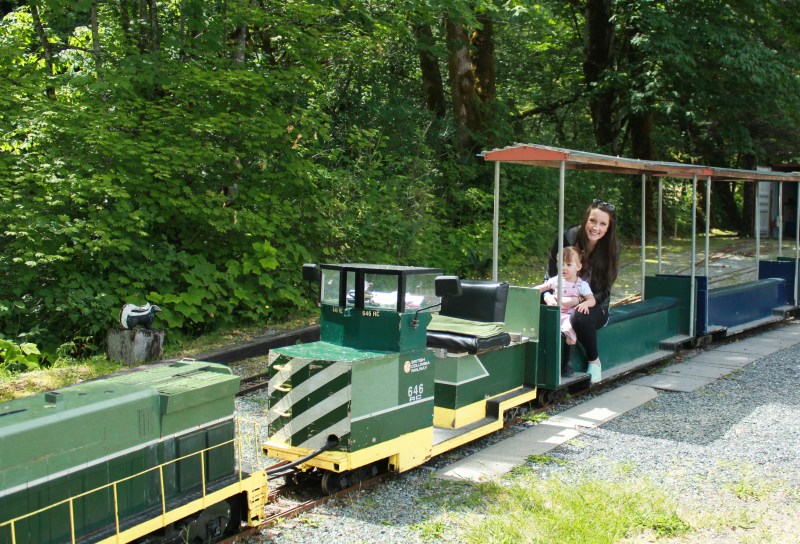
They also offer an awesome train ride for everyone in the family. It’s about 6 cars long and miniature, so you mostly just straddle it with your little one in front of you. It goes around the whole park and is about 20 minutes long. It was another highlight for Ezra because not only was it a fun ride, but placed along the tracks in the forest were little animals and gnomes.
CULTUS LAKE ADVENTURE PARK


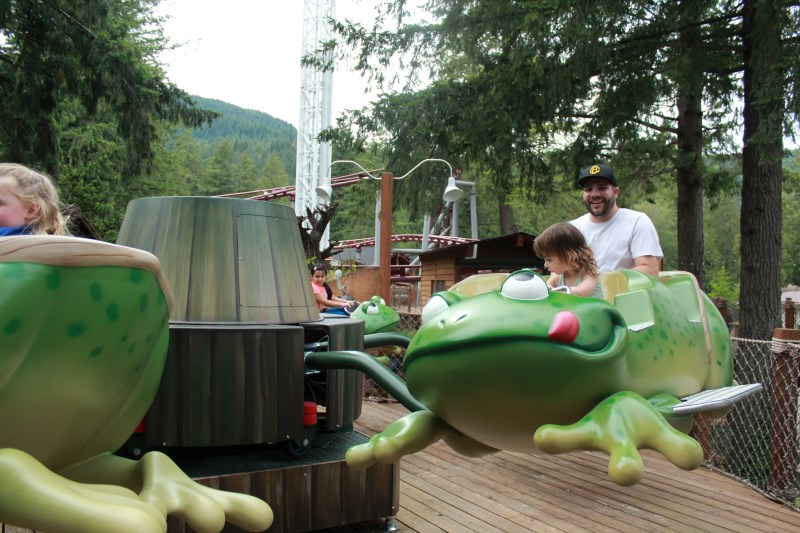
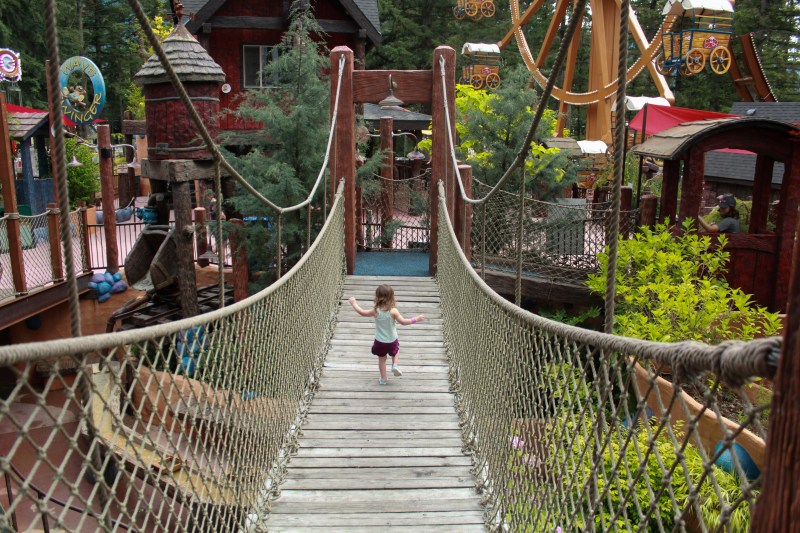

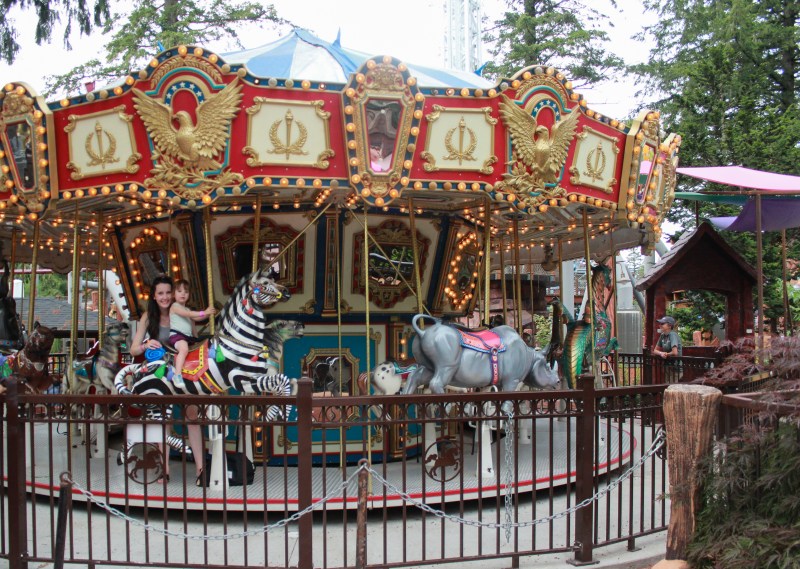

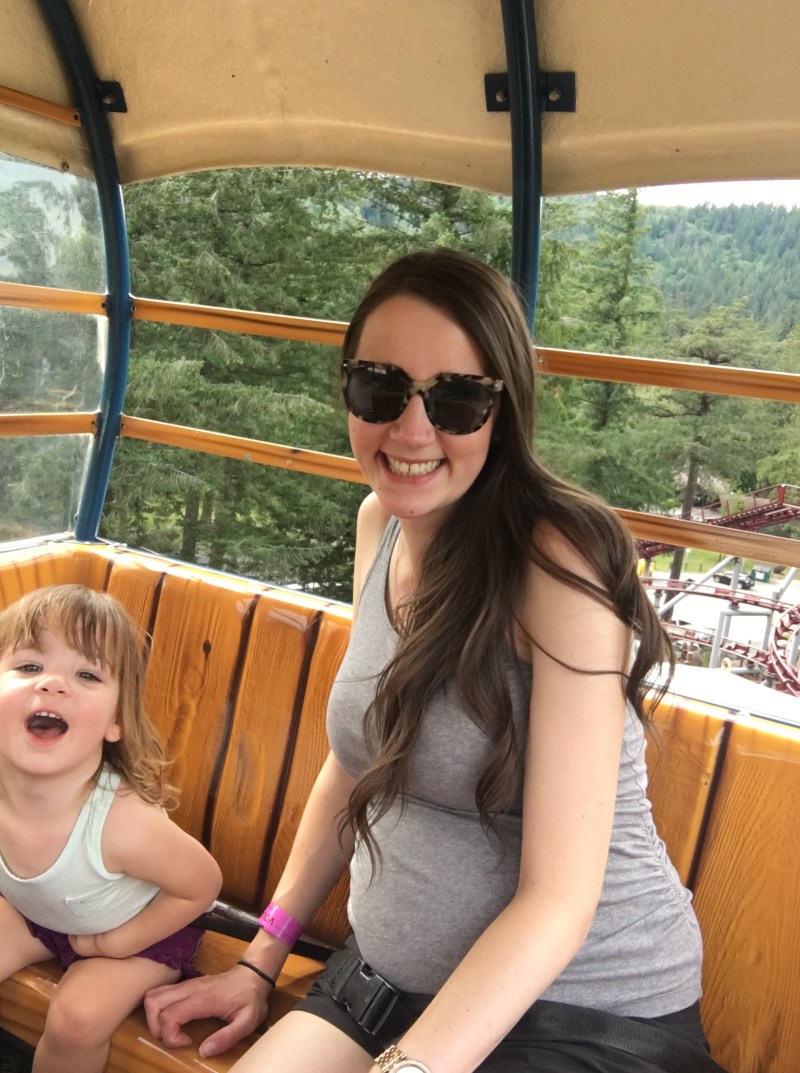


5. Cultus Lake Adventure Park
When we made our way out to Cultus Lake Adventure Park, we knew what we were in for, so we made plans. We would stop at Kindred Clothing along the way, Ezra would nap, we packed the camera, snacks, water bottles and picked up a flat of blueberries on the way home! Most of this happened, in this order, except for the fact that Ez only napped for half an hour in the car, if that.
Before we headed out to the park, we looked up all the height requirements, types of rides and what was available for the shorter crowd. To our surprise and excitement, we were very impressed that Ezra was able to go on about half of the rides! She is tall for two years old which you think would be both a blessing and a curse, that she would be tall enough, but too young and scared of the ‘bigger’ rides, NOPE! For example, when Kenz went on their drop zone ride, Ezra was right behind him in line up to get buckled in.. ayiyiyi.
When we arrived at the park, the entrance has the roller coaster flying by above and Ezra exclaimed, “MOMMY! THAT ONE!” … maybe in a couple years kid. We made our way around the park, through the kids play zone, across the board walk, and around the carousel at least 4 times, on the Zebra obviously. Every. Time. We spent about an hour and a half at the park and it was just perfect for us, we each went on a couple rides with her and she was just so excited the entire time. We will definitely be bringing back our fearless little girl!
Thank you to the Healthy Family Expo for inspiring our adventures with their Summer Family Fun 2018 Guide, and to Jessie Farrell for providing the soundtrack for our adventures! Jessie Farrell’s new album, Sparkle & Shine, is inspired by nature and perfect for a drive to an outdoor adventure. You can preview & download this album on Apple Music or order the CD online, and also catch Jessie & The Gumboot Kids on CBC Kids! Ezra has been jumping and hoping along to this soundtrack since the day it came out, she is such a bag of beans and continues to gain more awesome dance moves everyday!
These past few weeks have been crazy, preparing for baby #2, getting the house ready and stepping into summer mode – remembering to drink lots of water and always having a hat and sunscreen ready! These special outings with the family are always hectic, but hey, that’s how the best memories are made right?!
If you have any of your own hidden gems that you have as a family tradition, wether it be berry picking, carnivals or your favourite splash park, drop me a line below, I would love to hear about it and have new adventures!
I’ll leave you guys with a short clip of Ezra watching Mackenzie go on their highest ride at the adventure park – make sure to turn up the volume, it’s a good one!
Take Care and have an awesome summer!
XOX
Cass


 You may also like :


 You may also like :